
 العربية
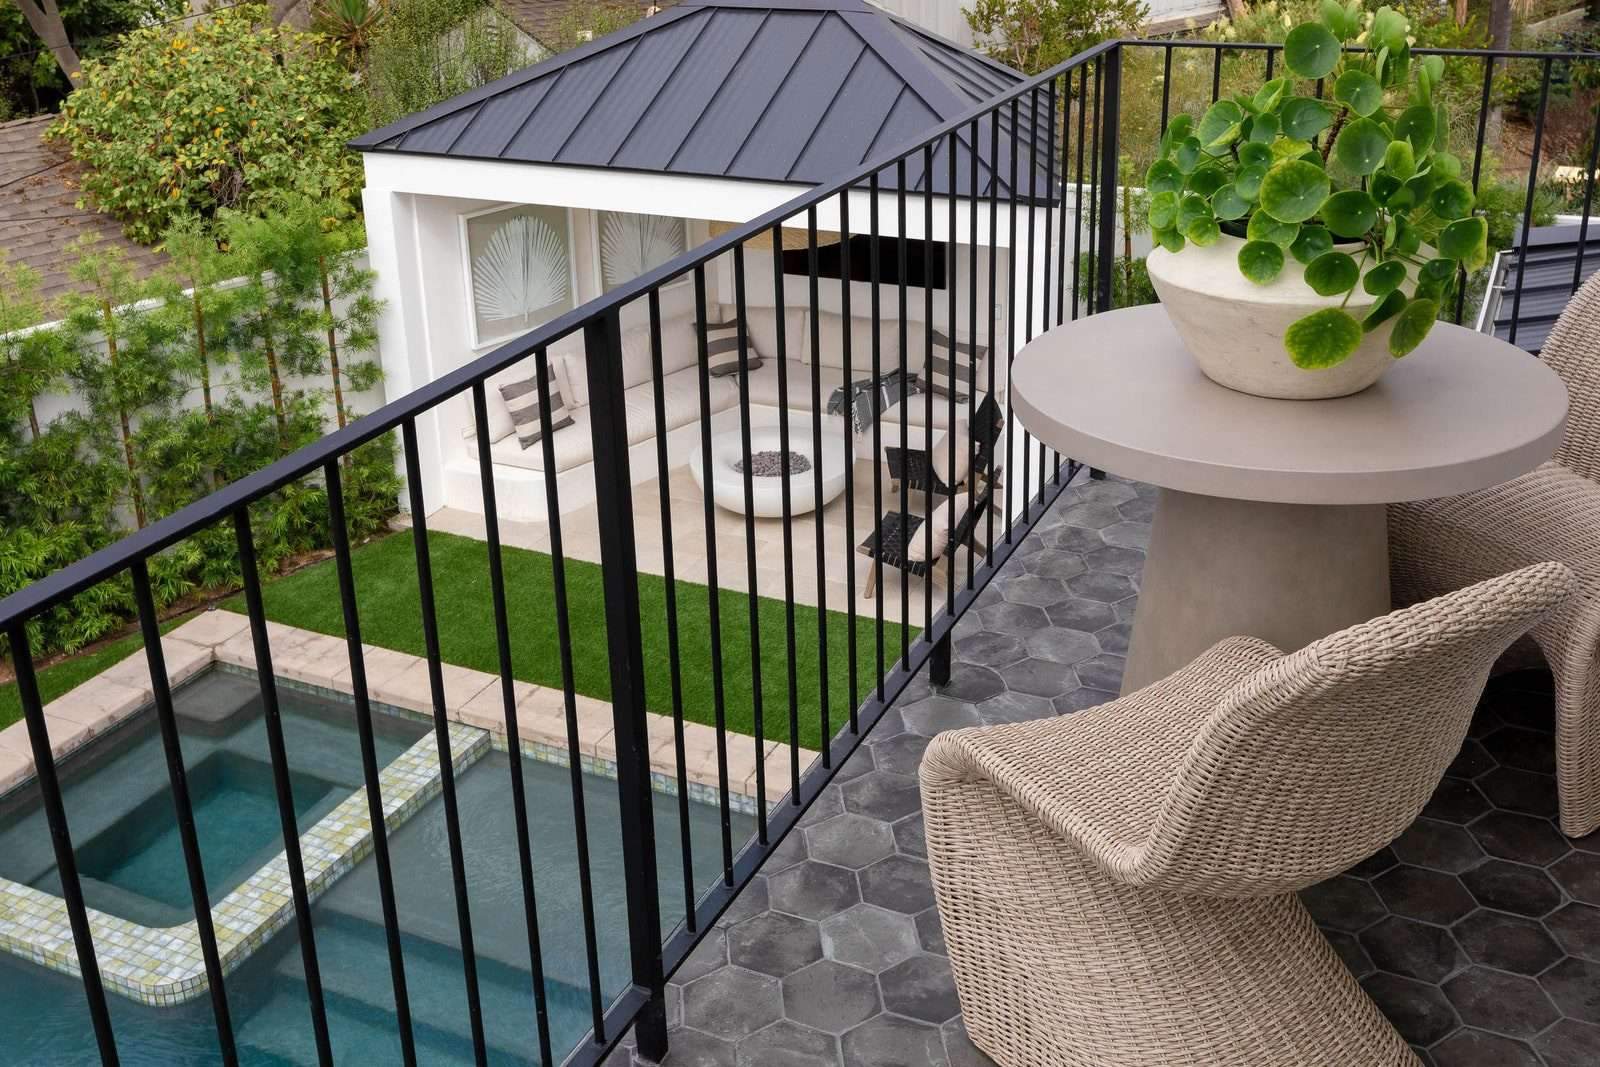
Paver patios are a time-consuming and physically demanding project. Below you’ll find a rough timeline for the project, but each person’s experience will depend heavily on things like the structural complexity of the site, complexity of the patio design, and of course the presence of any additional lighting, plumbing, or landscaping.
Sample project timeline
- Planning and preparation: variable
- Site preparation: 1–2 days, depending on patio size and complexity
- Base installation: 1–2 days, depending on patio size and complexity
- Edge restraints and sand bed: 1 day
- Paver installation: 1–7 days, depending on patio size and design complexity
- Sand or polymeric sand application: 1 day
- Finishing touches: 1 day
Total: 6–14 days
Is it cheaper to lay concrete or patio pavers?
Typically, pavers tend to be more expensive than concrete when it comes to patio installation. Pavers have a higher upfront cost compared to pouring a concrete slab, but concrete patio installation requires more labor and specialized equipment, which can increase the total cost of the project. An important factor to keep in mind is long-term maintenance. Pavers can be easily (and cheaply) replaced without specialized equipment or skills, but concrete repairs are more involved (expensive). If this wasn’t enough to convince you to opt for pavers, they are more durable, last longer, and are easy to switch around for a design refresh.
What is the average cost for a 12×12 paver patio versus 20×20?
There are a few factors to consider when trying to budget for a paver patio. Aside from the cost of tools and materials, the type of paver can influence your total cost significantly. Clay and concrete pavers are cheaper (around $3–$8 per square foot), while natural stone pavers start close to $8 a square foot and can go all the way up to $20 per square foot. So if you decide to hire out the job, you can expect to spend around $1,500–$4,000 for a 12×12 patio and closer to $8,000 for a 20×20 patio. These numbers will fluctuate based on the complexity of your design, choice of material, and any add-ons that need to be accommodated, like an outdoor kitchen or fire pit.
What is the downside of a paver patio?
There are few instances where paver patios don’t make sense. They can withstand the most extreme climates and don’t have many downsides, but according to Raboine paver patios are best left to experts if your yard is structurally complex. Raboine says, “For example, if a yard is extremely sloped, that can typically be solved by a retaining wall. However, it is best to leave those situations to the professionals; experts such as engineers are sometimes required to solve grading issues. The combination of a difficult outdoor space and a lower budget would be one of the only times we would recommend skipping pavers for a patio.”
How long do paver patios last and do they really increase the value of your home?
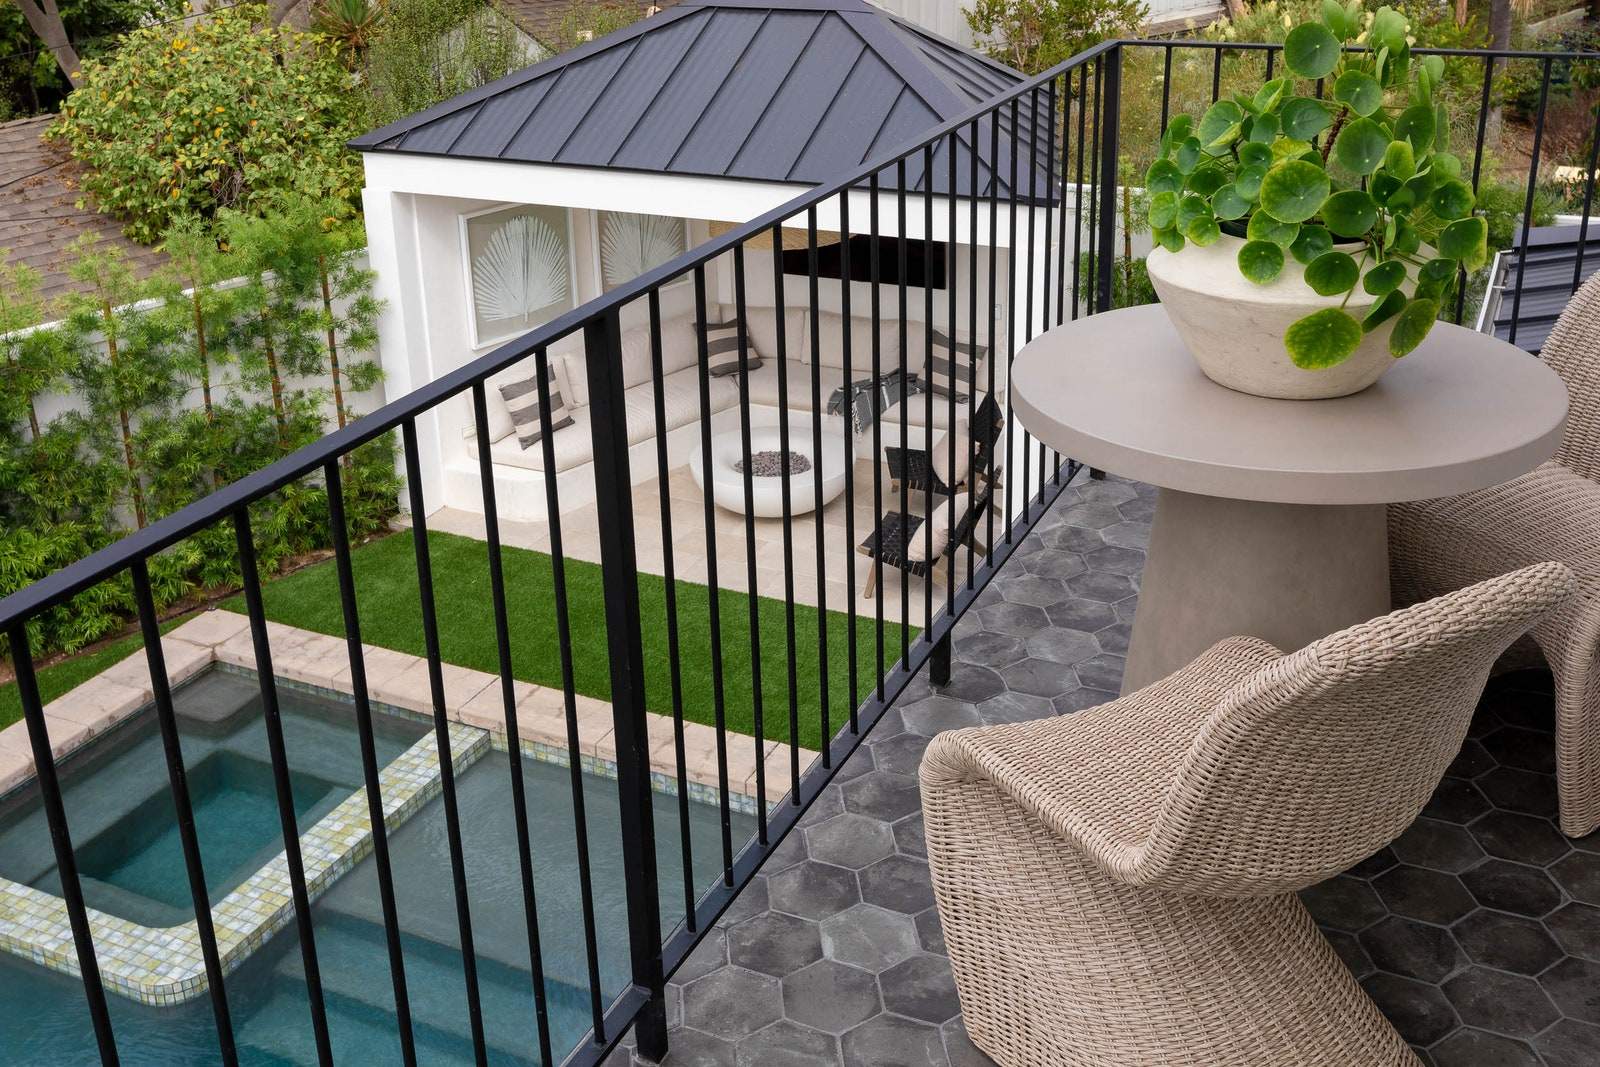
One of the biggest selling points of paver patios is their unparalleled durability. Most pavers last for decades and come with a lifetime warranty. This coupled with the fact that they require minimal maintenance makes them an attractive choice for many homeowners. According to Bailey Moran, the COO of Austin TX Realty, some paver patios can even increase the value of a home up to 20%. And even if most won’t get you such a large return on your investment, they will increase your home’s appeal.
Prepare your space for pavers

Photo: Aaron McCoy/Getty Images
- Mark the patio area: Use the furring strips and string to mark off the area where you plan to create your new paver patio. Making sure your string is level is crucial to ensuring accurate measurements, and if your design idea has curves, use a hose to mark them off.
- Slope away from the house: Regardless of your patio idea, make sure you incorporate a slope (away from the house). Standard slopes are a one-inch drop for every four feet. An easy way to incorporate a slope is to leverage any natural slope to your yard.
- Dig out your patio area: This is the first crucial step of creating a strong foundation for the base material of your backyard patio. Your pavers should sit slightly above ground level when on top of your base material, so choose your depth accordingly and use your level to keep the slope of your base uniform.