Use slanted ceilings to maximize your space
Are you looking for ways to maximize your space but want to avoid investing in a large space renovation?
Sloped roofs can be the perfect solution,
as they provide a modern and elegant look to your home and make the most of your space.
This creates more living and storage space than you ever thought possible.
This article will discuss design considerations, benefits, installation process, maintenance requirements,
And other tips for maximizing your space with a pitched roof.

sloping roof
A mansard roof, also known as a hipped roof,
is a type of roof in which the roof has two or more sides that slope upwards and away from the center of the structure.
What constitutes an angle with the horizontal plane?
Depending on the design, these slopes may be steep or relatively shallow,
and sloping roofs are commonly seen in various building designs.
such as homes and commercial buildings.
Benefits of having a pitched roof
A sloped roof can offer many benefits to homeowners,
from increased space to cooler temperatures and more efficient energy use.
A mansard roof not only allows you to increase the space in your home,
but it can also add aesthetic appeal and functionality to your home.
Let’s explore the benefits of having a pitched roof with greater depth.
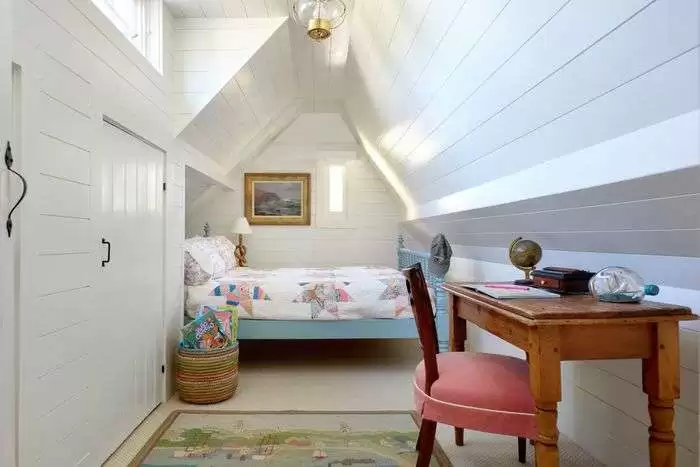
Space increase:
A sloping roof gives homeowners the ability to maximize their space,
and sloping roofs are usually higher than traditional flat roofs.
This allows homeowners to create attic space or additional rooms without taking up more floor space.
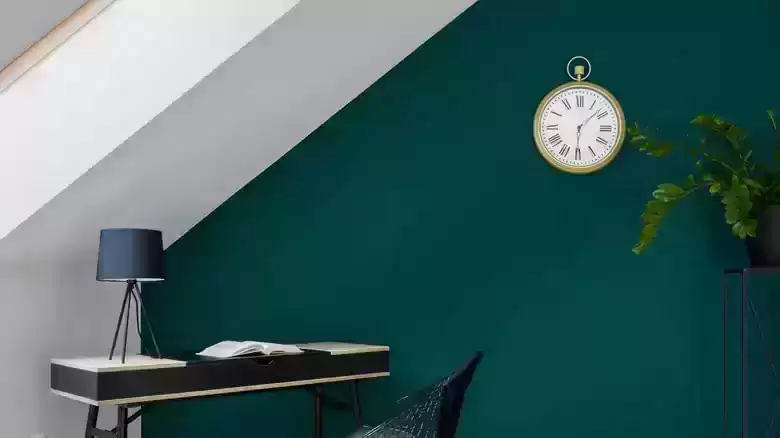
Aesthetic appeal:
With its unique shape and design, the mansard roof can make your home unique.
Many homeowners enjoy the look of a sloped roof and the extra visual interest it brings to their homes.
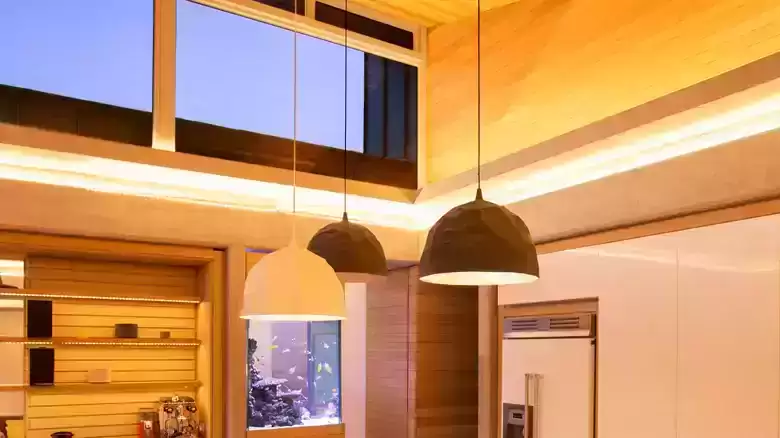
Increased energy efficiency:
Sloped roofs can help keep your home cooler by allowing heat to escape through the roof faster.
This can help reduce energy costs and make your home more energy efficient.
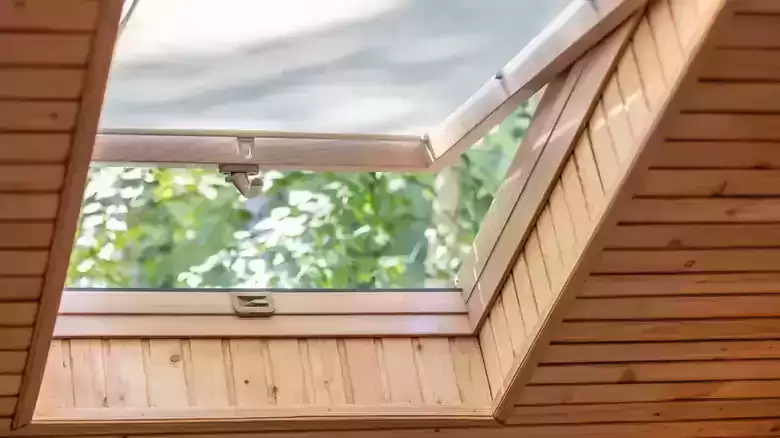
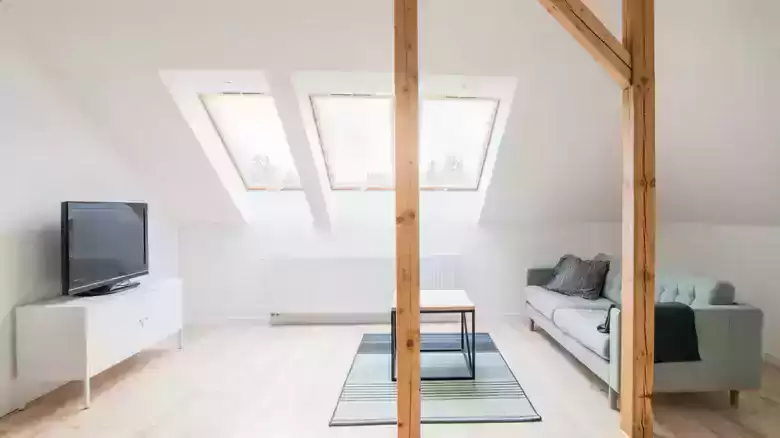
More natural lighting:
Sloping roofs also help bring in more natural light, as sunlight can filter through the high ceilings.
This can make the house look brighter and more attractive.
Improved drainage:
Finally, a pitched roof can help improve drainage in your home,
and the slope allows water to flow off the roof more quickly and efficiently.
It’s obvious why having a pitched roof can be a great decision for your home.
installation process
Installing a pitched roof on an existing structure can be daunting and requires careful planning and careful execution to ensure the best results.
But some steps must be taken no matter what to ensure the safety of people and the longevity of the roof.
Measure and mark the area
Before you begin, it is important to assess the structure of your home and the room to which you want to add the pitched roof.
Calculate the length and width of the walls in area and make an approximate drawing,
This will help you calculate the size and design of the pitched roof you want to build.
Once you have the measurements in mind, you will need to mark the space using a chalk line.
Mark the lines on the floor and walls where the ceiling will connect.
And make sure the lines are even, especially at the corners,
and this will help ensure the ceiling is evenly balanced.

Preparation and installation of the frame
Once you have decided on the design and acquired all the necessary materials,
it is time to prepare and install the pitched roof framing.
This step is crucial as it is the foundation of the entire structure and must be done carefully to ensure a strong,
supportive and stable framework.
First, start by calculating the sizes of the trusses and building the triangular support frames,
This is done by measuring the width and height of the chosen area and following the design plans for the construction of the triangular support frames.
Use high-quality materials such as treated wood, and make sure screws and nails are securely attached.
Once the frames are built, it is time to secure them to the walls. This is done by using screws to securely attach the frames to the walls.
Make sure the screws and bolts are installed and inserted to the correct depth.
With the frame attached, it’s time to install the rafters.
Start by measuring the distance between each truss and the walls and then cut the lengths of wood required for the rafters.
It is important to ensure that the rafters are level and have a constant inclination angle to ensure the stability of the roof.
The plywood and planks are then either joined or nailed to the frame. When the plywood is installed,
Start at the bottom and work your way up, making sure the plywood is firmly attached to the rafters.
Finally, install flashing around the edges to protect the ceiling from the elements and water,
make sure the flashing is securely attached and locked to the ceiling, and with the frame complete,
Your sloped roof is now functional and ready to use.
Gluing of roofing materials
Once you have your roof structure set up, it is time to install the roofing material.
Before you start, make sure you have all the materials you need, this will consist of roofing sheets,
roofing felt, nails and shingles.
Start by applying two or three layers of roofing felt, making sure that the layers overlap each other properly.
This will protect your roof from the elements and provide additional insulation.
Once the felt is in place, you can tape down the roofing sheets.
For more architectural news