
Disclaimer | This article may contain affiliate links, this means that at no cost to you, we may receive a small commission for qualifying purchases.
Over the last few decades, screen printing has become one of the most popular art techniques used on paper and fabrics.
Basically, it is a technique of printing ink through a stenciled mesh to create a beautiful art design. And the process can be called “silk screening” or “silk screen printing.” Today, with modern screen printing machines, this type of printing method has become easier if not widely available.
The artist uses tape or vinyl to cover the desired area of the surface of the garment. Once this step is complete, a light-sensitive photo emulsion is used to fill the stencil and print the picture onto the surface.
Moreover, you can use one shade of color or multiple colors. And in the case of the latter, we suggest painting one color layer at a time, as it enhances the overall look.
Now, without any further ado, let’s dive in to know more about this process!
History of Screen Printing
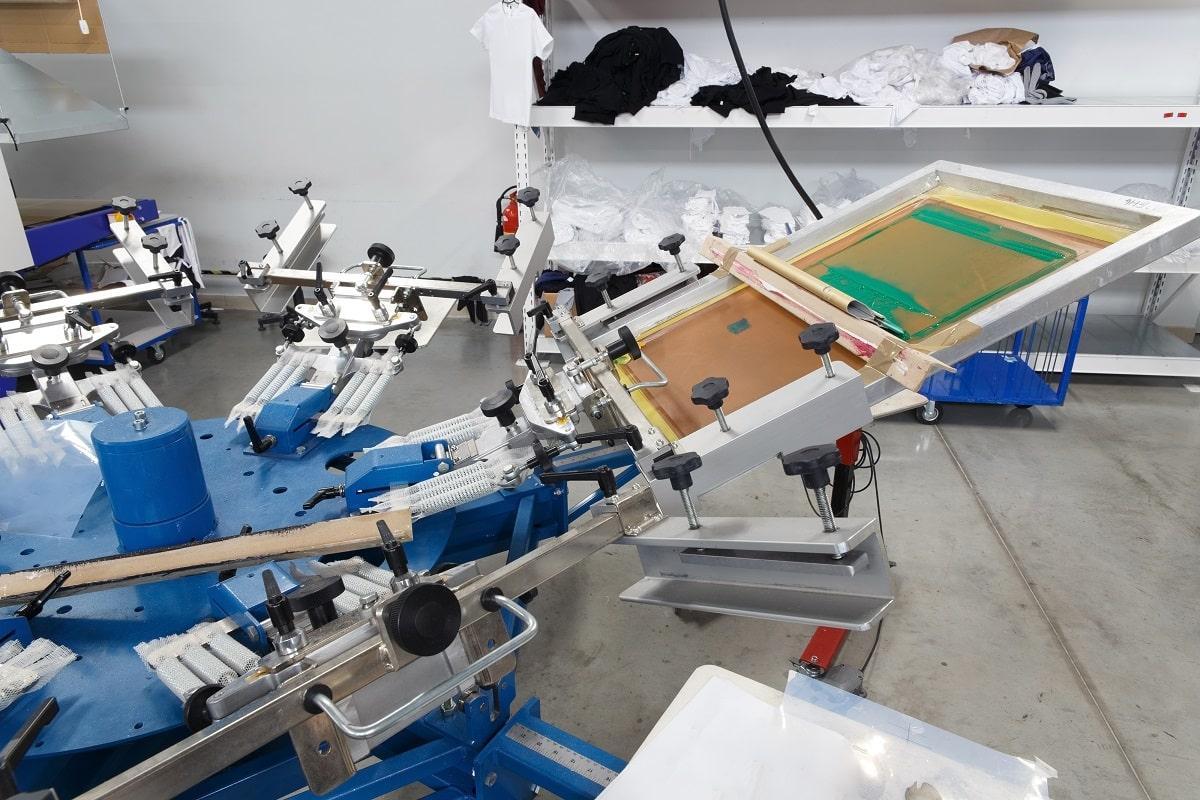
Screen printing is one of the oldest and most ancient forms of art known to mankind. One of the first versions of this technique was discovered in China in 950 AD. Back then, people would print the patterns onto the fabric and sell the fabric as a means of livelihood. Besides this, Japanese artists started adopting the technique by transferring designs onto paper and fabrics.
In the 18th Century, Europe started to adopt the process, but the demand was low due to the high cost of silk mesh at that time. However, the introduction of the Silk Road made silk more affordable, and this led to a rapid increase in the demand for screen printing.
With time, printers started developing photo-sensitized emulsions that allowed artisans to explore more complex designs and techniques for this art form. Nowadays, the technique is used for commercial as well as artisan purposes. Moreover, the same screen can be used over and over again to print the same design, making it ideal for the mass production of artwork.
Check out our article on screen printing that focuses on the advantages and disadvantages of the technique to know more.
What Is The Purpose Of Screen Printing?
The screen printing technique is one of the most widely used techniques since it produces colors irrespective of the color of the surface being printed. While trying this technique, we noticed that the ink lies on the surface in a layered format, and therefore, the design has a more tactile finish.
One of the key features that make this technique stand out is the use of stencil, as it allows the printer to reproduce the same design over and over again. Keeping this in mind, most commercial industries prefer to use this technique to make multiple copies of garments and accessories, making this one of the most efficient techniques for mass production and bulk printing.
Apart from this, professional printers can use high-end equipment to create intricate and complex multicolored designs, which can be hard to achieve through digital printing.
What Equipment Are Used in Screen Printing?
Here is a list of equipment you will need to get a clear and sharp image while using this technique.
1. Ink
When it comes to screen printing, the technique is highly dependent on the type of ink, paint, or pigment used on the mesh screen. Hence, choosing the right ink plays an important role as it helps to enhance the overall vibrancy of the image.
In this regard, artists use different specialized inks as each of them is unique in its own way. For instance, glittery ink, speedball ink, or texturized ink can be used to give the fabric a unique feel or look. On the other hand, puff inks are mostly used for creating a raised surface on the fabric, which adds a 3D effect to the design.
Moreover, the printer should take into account the type of fabric being used, as some fabrics can absorb ink better than others. Most t-shirts can absorb ink easily, making them a convenient surface to work on.
Nevertheless, we suggest using machine washable ink that can be heat treated since it produces a long-lasting colorfast look to the fabric. This result allows the colors to stay for longer since they don’t wash off easily.
2. Screen Printing Press
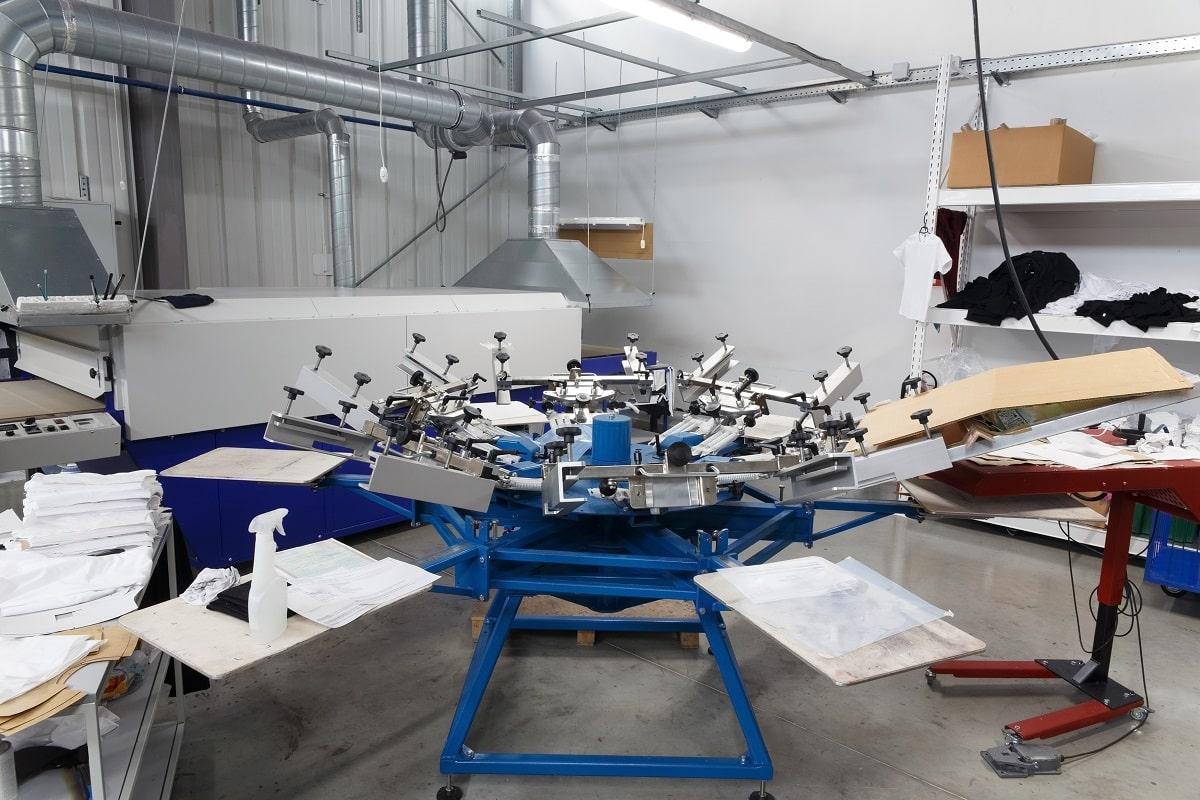
Screen printing requires printers to use mesh screens and squeegees to apply the paint onto the stencil. However, some professionals prefer to use a screen printing press since it can print more images efficiently. The press holds the entire screen in place, which makes it easier for the printers to swap out the fabric as required.
Generally, there are three types of press that are used for screen printing. First off, manual presses are operated by hand and require a lot of intensive labor. In contrast to this, the semi-automatic presses are partially mechanized. However, they still require manual labor to change the items being pressed.
Lastly, the automated press requires the least input since it runs according to the commands given by the computer. Large-scale businesses can benefit significantly by using an automated press. Likewise, small-scale and mid-scale businesses can use manual and semi-automatic presses, respectively.
3. Silk Screen
A high-quality silk screen is imperative for Ideally, most silk screens are made out of wood or metal (like an aluminum frame) with a fine mesh fabric stretched across. The silkscreen helps to spread out the ink evenly and gives a uniform look to the design.
When this technique was first introduced, artists and printers used silk threads to make the screen. However, due to the modern revolution, people have shifted to polyester mesh since they offer similar performance at a lower price.
Apart from this, the silk screens are available in different thicknesses and thread counts. Therefore, you can choose the desired thickness and thread count depending on the type of fabric you are working with. For instance, smaller gaps between the threads give out a more detailed finish to the print.
4. Squeegee
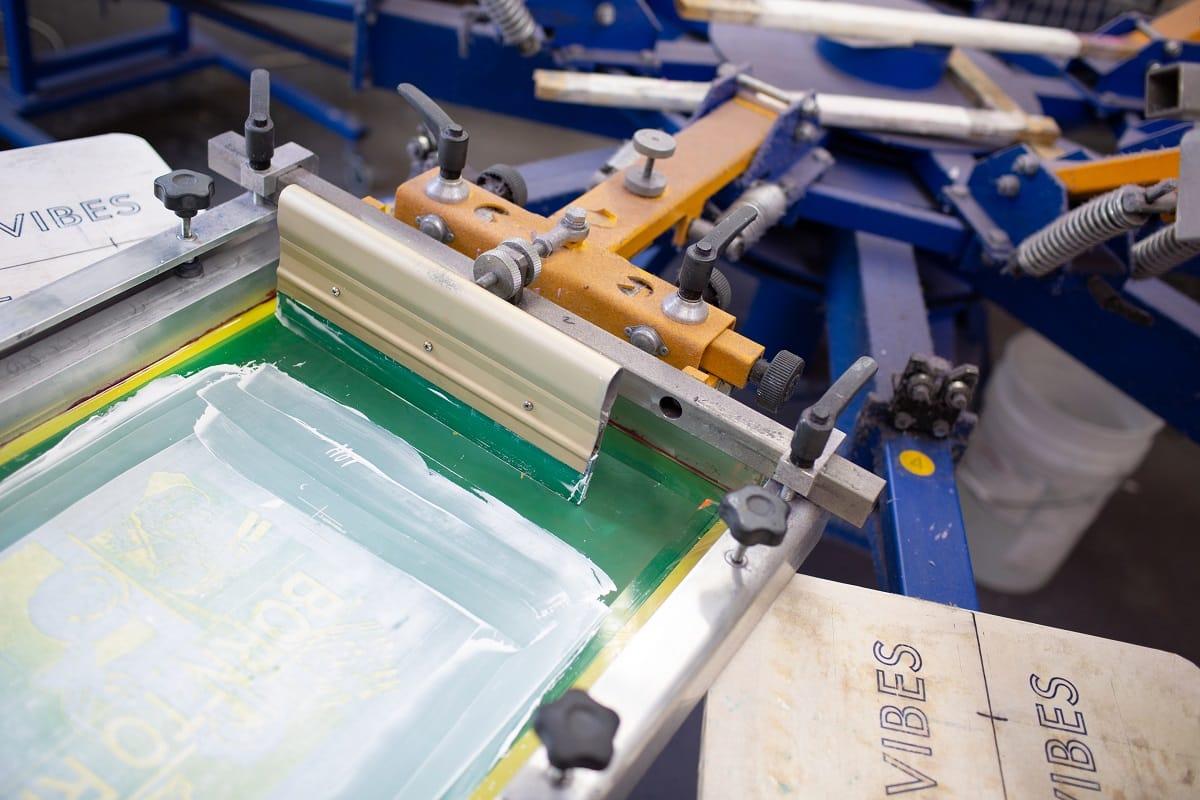
Squeegee is a type of rubber blade that is attached to a long metal, wooden, or plastic handle. It is mostly used for pushing the ink through the mesh screen so that it can reach the surface of the fabric. In general, most printers prefer to use squeegees that have a similar size to the screen printing frame, as it helps to cover more area within a short period.
Besides this, you can use a firmer squeegee if you are planning to screen print some intricate designs onto the garment. It also ensures that the ink reaches every corner of the screen printing frame and mesh.
In contrast to this, some people prefer to use soft rubber squeegees that are beneficial for giving out a more robust color, but it may not help you get the details. However, these can help first-timers practice the ink distribution.
5. Washing Station
Lastly, a washing station is required for cleaning the screens after completing the screen printing process. During the screen printing process, emulsion and ink get trapped between the screen, which can hinder its overall performance.
Therefore, printers prefer to use a large tub as a washing station for their polyester mesh. In addition, special cleaning fluids and acids are used to remove the emulsion thoroughly from the mesh. However, if you own a small-scale business, then you can use a sink with a power hose to clean the screens.
Step-By-Step Process Of Screen Printing: A Complete Guide
The art of screen printing has changed drastically over the years, and different artists use different techniques to come up with their own unique designs and art. Nevertheless, the foundation of screen printing remains the same for each and every method. In this section, we will talk about using light-reactive emulsion since it is a customizable form of a stencil.
This process is highly used for commercial printing, as it prints intricate designs on the t-shirt or garment being printed on. So, without any further ado, let us dive into the steps for screen printing.
Step 1: Idea And Design
As a beginner, it is very important to visualize the design and before printing it onto t-shirts or garments. Visualization helps to bring the idea to life, and once you are done with the visualizing, you can print the design onto a transparent acetate film, which will later be used as a stencil for the artwork.
On that note, we suggest taking your time before printing the idea onto the transparency paper since the mistakes can cost you a lot of resources and money.
Step 2: Preparing The Screen
Once you are done printing the design, the next step should be choosing the appropriate mesh screen. Selecting the right mesh screen is crucial since different designs require the customized or specific mesh to get the printing job done effectively. Printers should examine different factors such as the fabric texture and the complexity of a design before finalizing the right mesh for screen printing.
The mesh is then coated with a layer of photo emulsion, which is light sensitive so that it can be hardened under a very bright light source.
Step 3. Exposing The Emulsion
The next step is to take the acetate sheet with the design and place it on the emulsion-coated screen, which is exposed to very bright light in a dark room for hardening. During the hardening process of the emulsion, only the parts that are not in contact with the design end up hardening. On the other hand, the screen parts that contain the design remain in the liquid form.
One important thing to note here is that you should use separate screens if the final design is going to have multiple colors. Multicolored t-shirts and garments require a lot of dedication and time, as the printers need to align the different stencils carefully for the best results.
Step 4: Washing Off The Emulsion
After exposing the emulsion to the bright light, the screen begins to harden, and the areas that are not covered by any design will turn hard. However, there will be some areas that remain unhardened, and these areas will serve as the foundation for the stencil. The unhardened emulsion (or the emulsion surrounding the design) should then be rinsed carefully with cool water and left to dry- this will form the imprint of the design.
You can make necessary corrections and touch-ups to smoothen out the design of the stencil. By carefully correcting the minor details, the stencil becomes an accurate copy of the design.
Step 5: Preparing The Item For Screen Print Press
The screen is now placed onto a printing press, which will serve as the base for printing the garment or fabric. Place the garment on the printing board while making sure that the screen is right above the fabric.
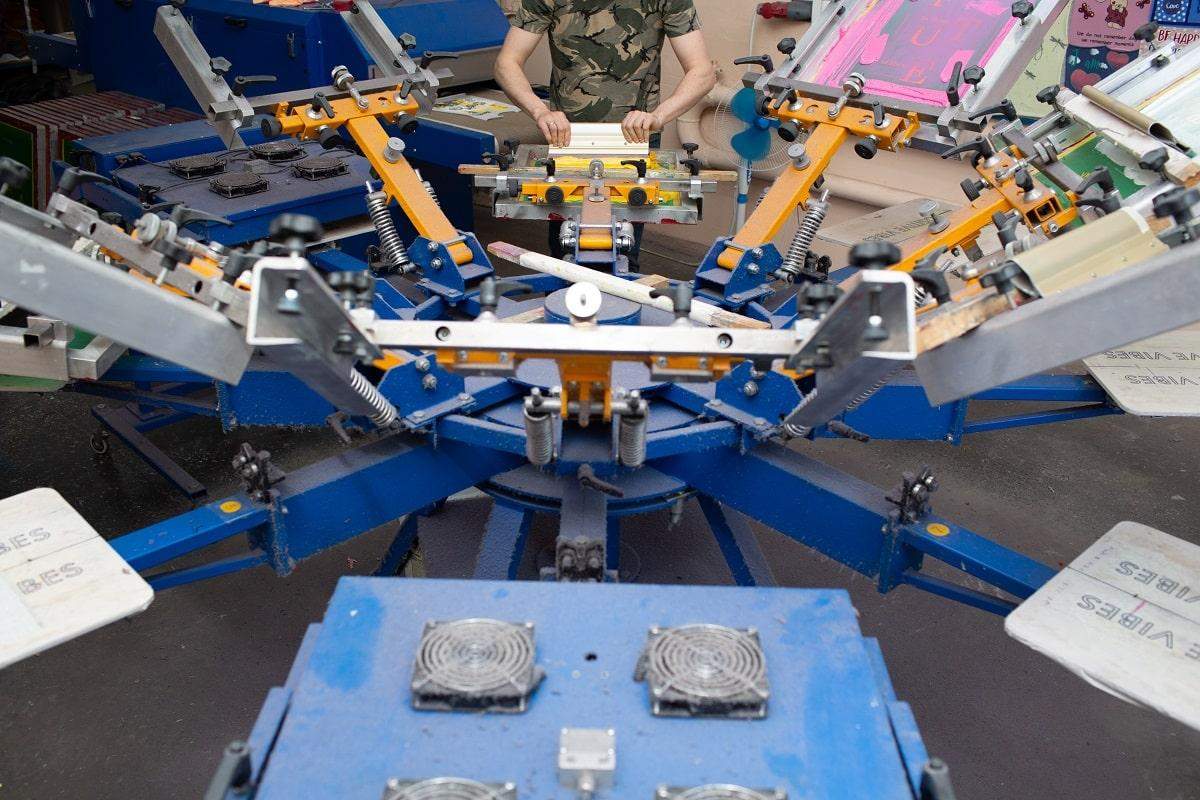
The screen printing press can vary based on its utility and functionality. For example, the automatic rotary carousel printer is considered suitable for commercial and residential painting. Moreover, it requires the least amount of labor for operation. We also suggest buying your own screen printing frame as it helps to keep the garment in place.
Besides being less labor intensive, the automatic press is ideal for applying separate color layers for multicolored prints. Additionally, it also saves a lot of time as the printer can print multiple garments at a time, making this one of the most efficient methods of printing.
Step 6: Pressing The Ink Onto The Screen
As soon as the printer places the screen above the garment, the ink is added on the screen, and a squeegee is used to distribute the ink across the design evenly. The squeegee serves the purpose of applying the ink while making sure that each and every corner of the design receives the ink.
The pressed ink passes through the open gaps between the stencil and imprints the design on the garment. By lifting the screen, the printed garment is replaced with a fresh garment, and the whole process is repeated to print the same design.
After completing the process, remove the emulsion with a special washing fluid so that the mesh can be used again for making future prints.
Step 7: Products Are Dried, Tested, And Packed
Lastly, the printed products are left to dry so that the ink can be cured hard to leave a smooth and colorfast finish. Some professionals even prefer to use heat-reactive ink since the ink can cure faster when exposed to intense heat.
The final product is then checked and tested to see if the design is accurate. In addition, the printer makes sure that the ink doesn’t wash off easily by performing a few trials. And any form of residue is removed from the garment before it dries up.
How To Do Screen Printing Frequently Asked Questions ?
Does Screen Printing Ink Wash Out Easily?
In the last few centuries, screen printing ink has become more durable and resistant to water, so they last for longer. Garments that are screen printed by a trained professional will not wash off easily since the ink has been allowed to be properly set on the fabric.
Moreover, it’s important to follow the drying time and maintain the right temperature according to the type of ink used on the fabric. Hence it’s important to follow the guidelines so that you can prolong the vibrant brightness of the ink.
How To Make Screen Printing Frame At Home?
Buying a frame can be costly, but you can cut down on this cost by making your own screen printing frame at home with simple materials like duct tape, masking tapes, and flat surface wooden boards. Make a frame with a wooden board and fix a stretched polyester mesh fabric across the frame.
Secure the mesh screen using duct tape and masking tape and trim out the edges to give a uniform and even look. You can also stape the edges of the fabric or use bolts before covering with the tape to ensure that the fabric doesn’t come off.
How Is Heat Transfer Printing Different From Silk Screen Printing?
Heat transfer printing is a type of printing that uses heat to bind the design on the fabric. When it comes to this technique, the design is printed on a material that is coated in a heat-reactive adhesive.
As soon as the heat press is applied to the adhesive, it starts to react and stick to the material as it forms the design on the surface. However, silk screen printing doesn’t require any additional adhesive.
How To Expose The Screen In Your House?
Generally, it is recommended to use a lightbox to expose the emulsion on the screen print but you also use a normal 150-watt light bulb. Simply keep the screen on a flat surface (like a bristol board) and directly below the light source to help the emulsion harden. And keep the screen covered with a tea towel until it’s ready for exposure.
Moreover, photo emulsions come with all the instructions for application and exposure. So, read them carefully before starting with the process. However, make sure that this step takes place in a dark place.
What Is A “Flash” Layer?
Flash layer is a type of screen printing technique where the artist double prints a particular color to the shirt or fabric. This technique is mostly recommended for those who work with dark fabric, as it allows the lighter color to pop up easily and look more aesthetically pleasing.
Also, flash layers can be used to give the design a more complex color design by making the color look sharp and intricate.
How To Do Screen Printing Conclusion
We hope our efforts will help awaken the screen printer in you!
As a beginner, there are so many factors to consider while screen printing your own garments. Firstly, don’t get confused with all the different types of screen printing processes. Make sure to pick a garment that absorbs ink well, as it will serve as the foundation for your ink design. Secondly, you should select the ink according to the type of design you have in mind.
Some inks are ideal for creating three-dimensional printing, while others give out a unique, vibrant look and contrast. Selecting the right ink along with the screen printing press can reduce most of your work since it makes the process simple and less labor intensive. Lastly, you should let the ink set before washing out any residue from the garment.
We also suggest watching any Youtube channel to learn different techniques and tips related to screen printing. And feel free to experiment with the designs once you get a hang of things.
With that, we will wrap up now. See you next time!


