DIY Project to Build Concrete Steps
DIY Project to Build Concrete Steps
Concrete steps are one way to add curb appeal for an attractive porch. While many may think that building concrete steps by yourself is a complicated DIY project, the truth is that as long as you follow a step-by-step beginner guide, you can complete this project with no help from professionals.
Below, we will go through 20 steps to give a detailed description of the tasks needed to build concrete steps for your house on your own. We will assume that there are already some old steps in place which we will shatter in order to build the new steps.
Step 1: Check for Wells

Source: richfieldblacktop.com
You will first want to make sure that the old stoop is not built above a good room. If it is, busting up the old stairs will end up making a hole in the basement. Therefore, before you start this project, make sure to take a look around the basement. A glass access panel built-in is one way to identify steps that are built above wells.
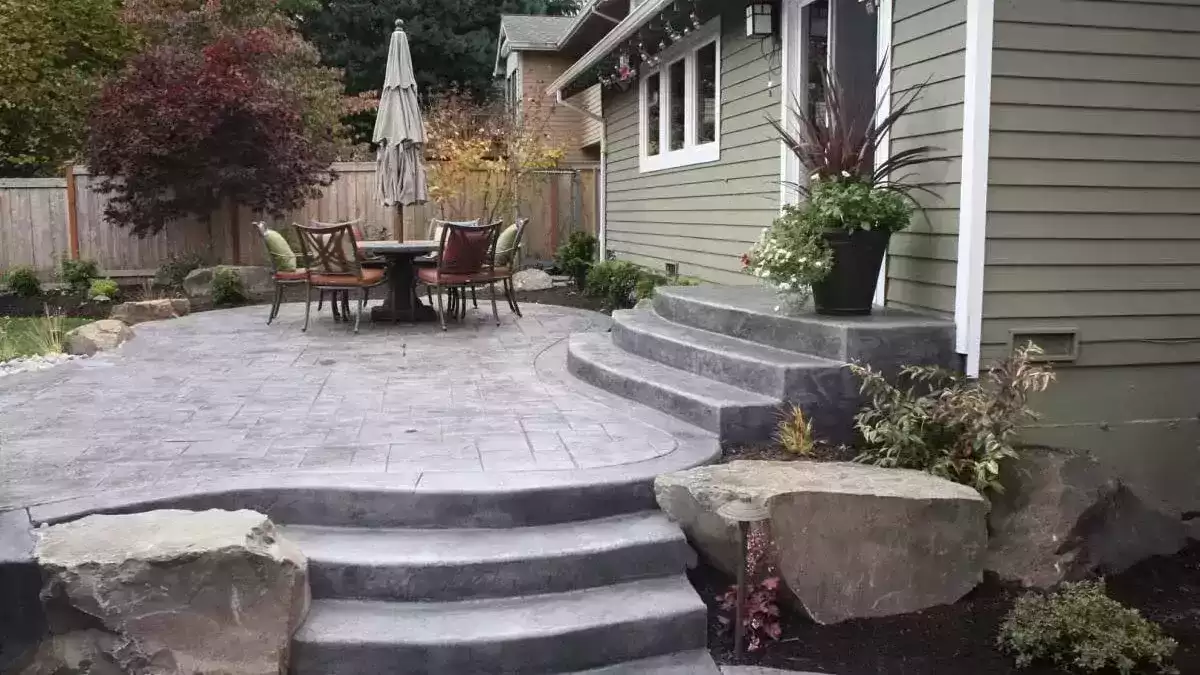
Step 2: Bust Up the Old Stoops
In order to bust up the old stoops, you will definitely need a breaker hammer. Since it is not a tool people typically carry in their homes, you can rent one. Some old stoops can be very difficult to bust up, and it may take you a long time to go through this step even if you have a breaker hammer.
One thing to remember is that this is easier to do if you are able to locate the rebar and strike along with the hammer. However, sometimes, there may not be any rebars at all. If you have never done this before, make sure to check some guides beforehand on how to drill into concrete.
Step 3: Cut Rebar

Source: 123rf.com
If the old stoops do have rebars, then you will need to cut them in order to shatter the stairs completely. You can cut rebar by using a bolt cutter.
Step 4: Clean the Old Concrete Off the House
While it is true that you will be building new concrete steps on top of it, some of the old concrete that is stuck to the house needs to be cleaned up. This is because it might show, in case the new stairs are built at the same or a lower level than the old stairs.
Step 5: Don’t Remove the Busted-Up Concrete
You may have the instinct to remove the busted-up concrete from the old stoops, however, it can still be of use to you. You can leave some of the old concrete to fill up the center of your stairs. This way you will be using less “new” concrete. However, remember to either crush or remove relatively big chunks.
Step 6: Layout Footings

Source: ktaweb.com
If there are existing footings, you can use those to build the new stairs. However, if there are no footings in place, you will need to create some. Depending on how wide your steps will be, the footings have to be 3 inches wider. Look at the codes required, and excavate the footings to the proper depths.
Step 7: Insert Vertical Rebar
Take rebars in the length of 12-inches and insert them into the footings in a depth of 7 to 8 inches. The top of the rebars will depend on the height of the stairs. The top of the rebar should be about 2 inches lower than the height of the stair it is under.
Step 8: Compute Stairs’ Dimensions
The number of stairs and dimensions will depend on the area available in your front yard or porch. You should first measure the run and rise of the area. Then using a stair calculator, you can figure the stringer height, length and width, the angle, and the steep rise and run.
Step 9: Outline Steps

Source: freepik.com
Now that you have the exact dimensions of the stairs that you are building, you can use these to make an outline of the steps on a sheet of ¾-inch plywood. You will need to put two sheets of plywood together and cut along your sketch using a jigsaw. You need to stick one sheet on the ground for each side of the steps, that is why we are attaching two sheets together.
Step 10: Add the Steps
Once you have firmly stuck the plywood on the ground, you can start adding the steps alongside the edges of the plywood. You will need to cut a piece of lumber that matches the height and width of the steps you are trying to build. Then, you will install these pieces on the structure of plywood stuck on the ground.
Step 11: Attach Braces

Source: twinfallsconcrete.com
In order to ensure that your structure will stay in place, you will need to cut angled braces and fasten them on the edges of each stair.
Step 12: Fill in with Rubble
If you are building the concrete steps from scratch, meaning that you don’t have any old busted-up concrete to fill in the center, you can use the rubble to fill in the space inside the wooden structure you have built. This will save you time and money since you won’t have to fill the whole structure with concrete and wait for it to dry.
Step 13: Add Rebar
Rebar is metal bars that are used to provide additional support to concrete structures, such as concrete stairs. You will need to bend lengths of half an inch rebar to lay on the rubble you poured on step 12.
Step 13: Mist Form
DIY Project to Build Concrete Steps

Source: cloudfront.net
Spraying the structure and walls will help prevent the concrete from drying up too fast. Another tip to consider is to rub motor oil or cooking spray on the structure so that the concrete does not stick to it. This will make it easier for you to remove the forms at the end.
Step 14: Fill with Concrete
Before starting, you will need to calculate how much concrete you need to fill in the structure. Once you have the right amount of concrete, you can start mixing it. When it is time to fill in the structure, you should start pouring the concrete in the bottom step first.
If you are not sure what type of concrete mix to use, you will need to do some research before buying to ensure that the concrete mix is suitable for the stairs. Also, know the advantages of using polished concrete floors.
Step 15: Save Some Concrete
Apart from the amount of concrete you need to fill in the stairs, make sure you keep some extra concrete aside. You can use it in case there are any voids created behind the forms when you remove them.
Step 16: Poke Down with a Shovel
Use a shovel to poke down the concrete to eliminate any big voids inside.
Step 17: Tap on All Surfaces
Using a small hammer, make sure to tap multiple times on the outside surfaces of the wooden forms. This will help you get rid of the small voids that may have been created inside.
Step 18: Use Hand Float to Even It Out
To have a nice, clean, even surface, you will need to use a hand float to finish up the stairs and the area in front of the door. If the surface area is big enough, you can also use a bull float instead of a hand float.
Step 19: Test the Concrete
One of the most important parts of the project is knowing how long to wait before removing the forms. To test whether the time to remove the forms has come, you can put a hand float on the concrete and put your body weight onto it. If this process leaves a slight mark then you should remove the structure. On the other hand, if it leaves no mark at all, it is a sign that you waited longer than you should have.
Step 20: Remove the Forms
Finally, you can start removing the forms. Start with the steps first. You will need to unscrew the wooden structure in order to disassemble it so it is easier to remove it completely.
In conclusion, building concrete steps is a simpler process than you may think. The 20 steps outlined above should give a good idea of what you will need to do in order to build your concrete steps like a professional contractor.
DIY Project to Build Concrete Steps
Drobo is a well disposed of, independent robot for conveying clinical items