What exactly are FPV drones and how do you make one?
An instruction manual for creating your first-person view (FPV) drone with virtually limitless customizability.
Video shot by an FPV drone will probably catch your notice eventually if you spend enough time on social media. These breath-taking movies depict beautiful locations from distinctive and captivating angles as they soar over city skylines, zip through treetops, or trace uncharted regions of the globe.
First-person view (FPV) drones have grown in popularity in recent years, and this video serves as an amazing advertisement for drone cinematography. From a small group of specialist flyers, they have grown into a significant group of remotely piloted aircraft used for a variety of tasks, such as drone racing and filmmaking.
Moreover, the drone’s nose-mounted camera streams live video to goggles or monitors worn by the pilot via radio. Usually at 2.4 GHz or 5.8 GHz frequency, with 1.3 GHz used for remote transmission.
The success of FPV drones is largely due to the introduction of small HD cameras like GoPros, which allowed a community of drone builders to modify and hack their models into a true high-speed flying camera. The majority of drones in use today are assembled piece by piece by individuals who enjoy the challenge of building things from scratch, resulting in unique drones in infinite colors, forms, and designs.
Making your own FPV drone may appear difficult, but with the right information, it isn’t as difficult as it seems. To help you take off quickly, we’ve combed through the sea of material available and put together a guide in this post. Furthermore, it includes everything from a brief explanation of each component to a list of pre-built FPV drones that are now available for purchase.
Development
Frame
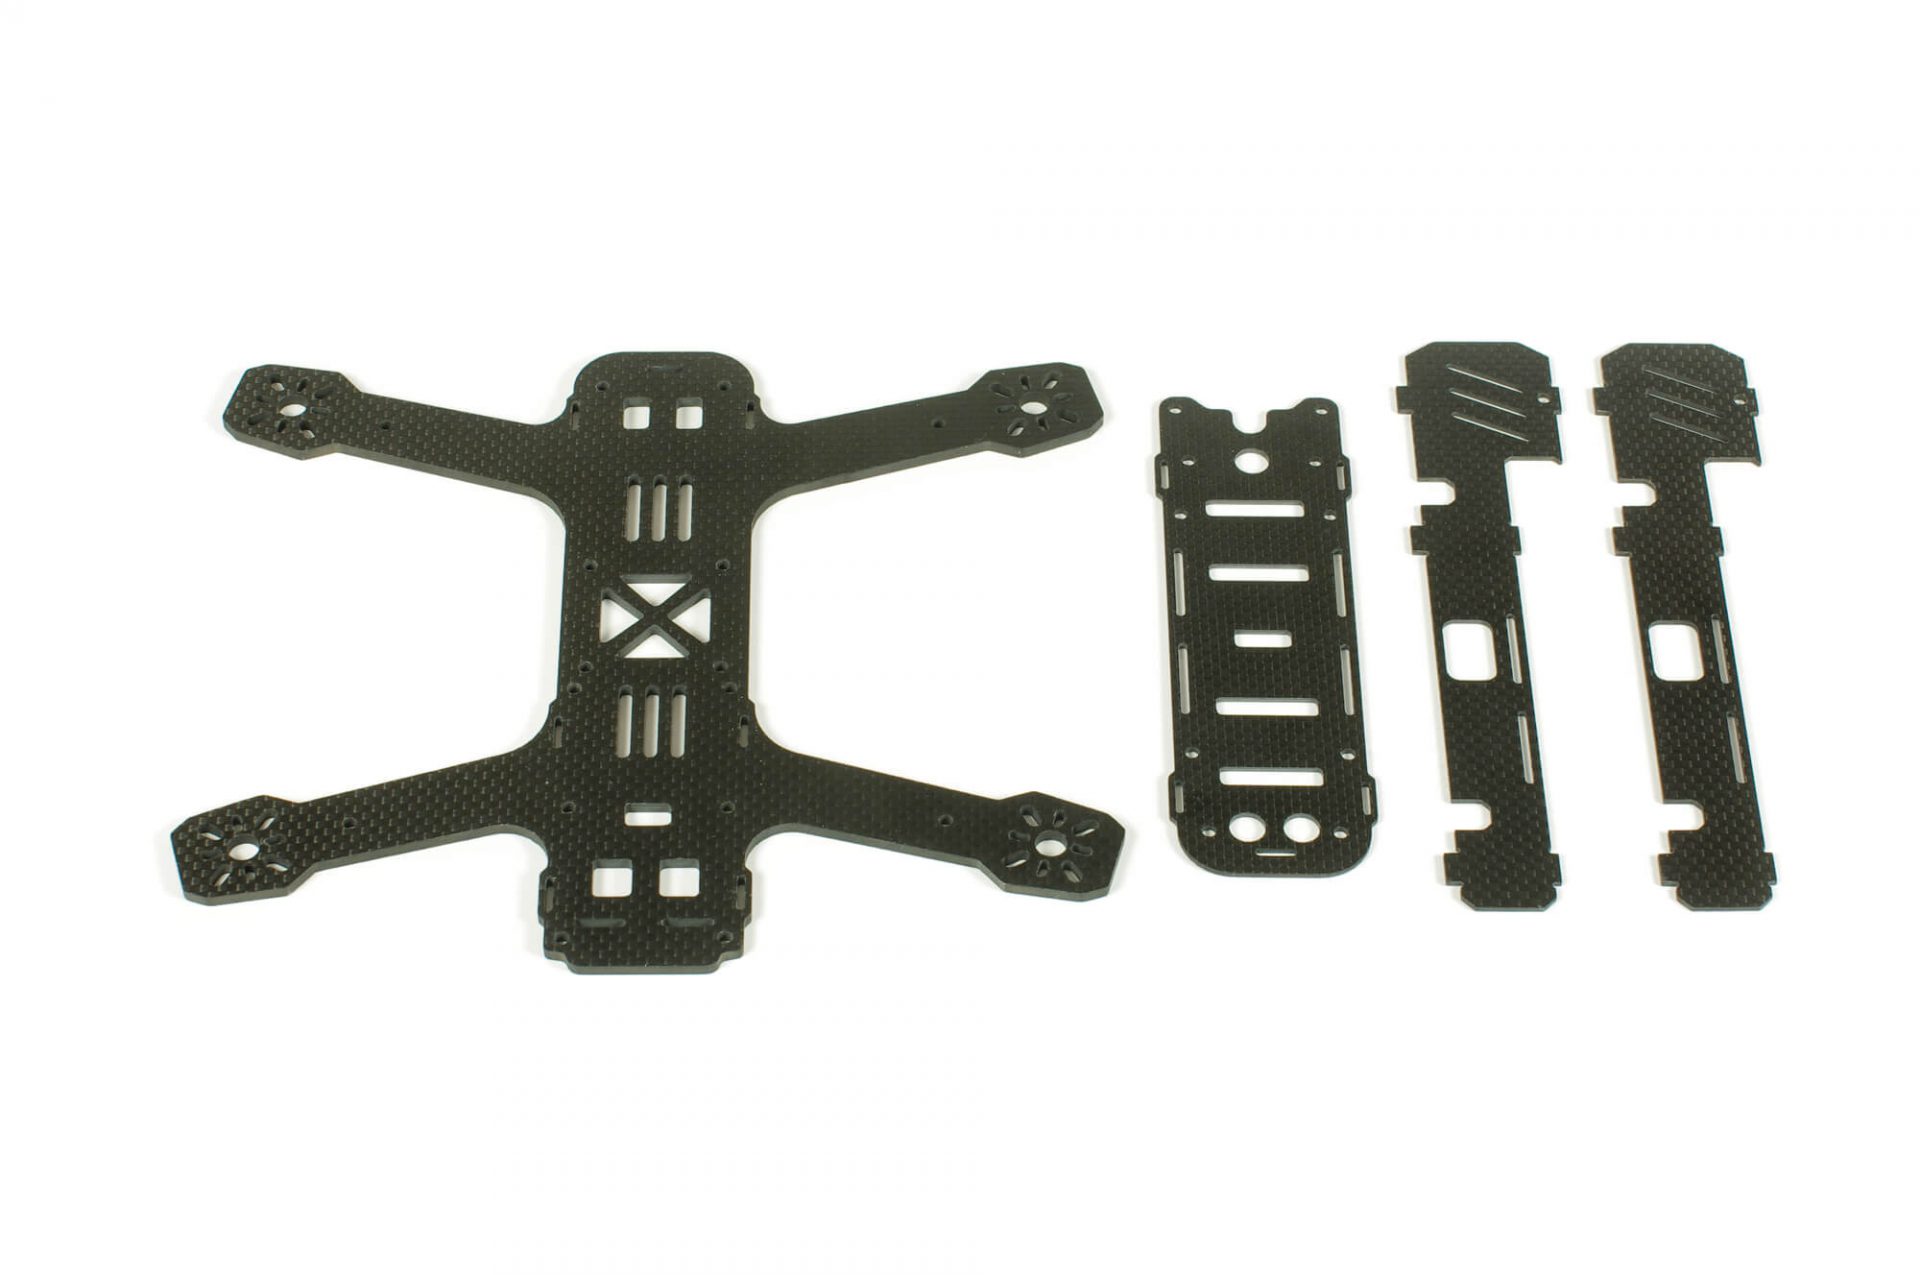
The frame is where you start when you first want to give your drone to somebody. All additional components are now fastened and put together utilizing mounting hardware to keep everything together.
Depending on their intended usage, frames come in a variety of shapes and sizes. The frame of an FPV drone should normally be lightweight while allowing for as much protection as feasible to create the necessary agility to fly through challenging terrain and execute tricks.
The ultimate design and the components you imagine will also depend on the camera you wish to mount. Do you, for instance, favor allowing interchangeable arms’ versatility? Do you require a frame capable of supporting the added weight of an HD camera?
With options like the number of perimeters and the infill % that can minimize weight and improve the overall impact, 3D printing makes it much simpler to reduce mass and even produce a one-piece design.
- X-Knight Carbon Fiber 5″ Frame V2 Kit from Betafpv – $22.42
- Analog Frame Kit for the iFlight Titan XL5 for $55.90

A brushless motor
Brushless motors propel the plane into the air and provide it with the thrust it needs to reach irrational speeds. They are quick, strong, and agile. The direction of movement is determined by the rotation speed of each motor, which is driven by the battery through an electronic speed controller.
For DIY drones, brushless motors are the preferable option because they have a longer lifespan and use less battery power. Four motors are required for a standard quad.

Propellers
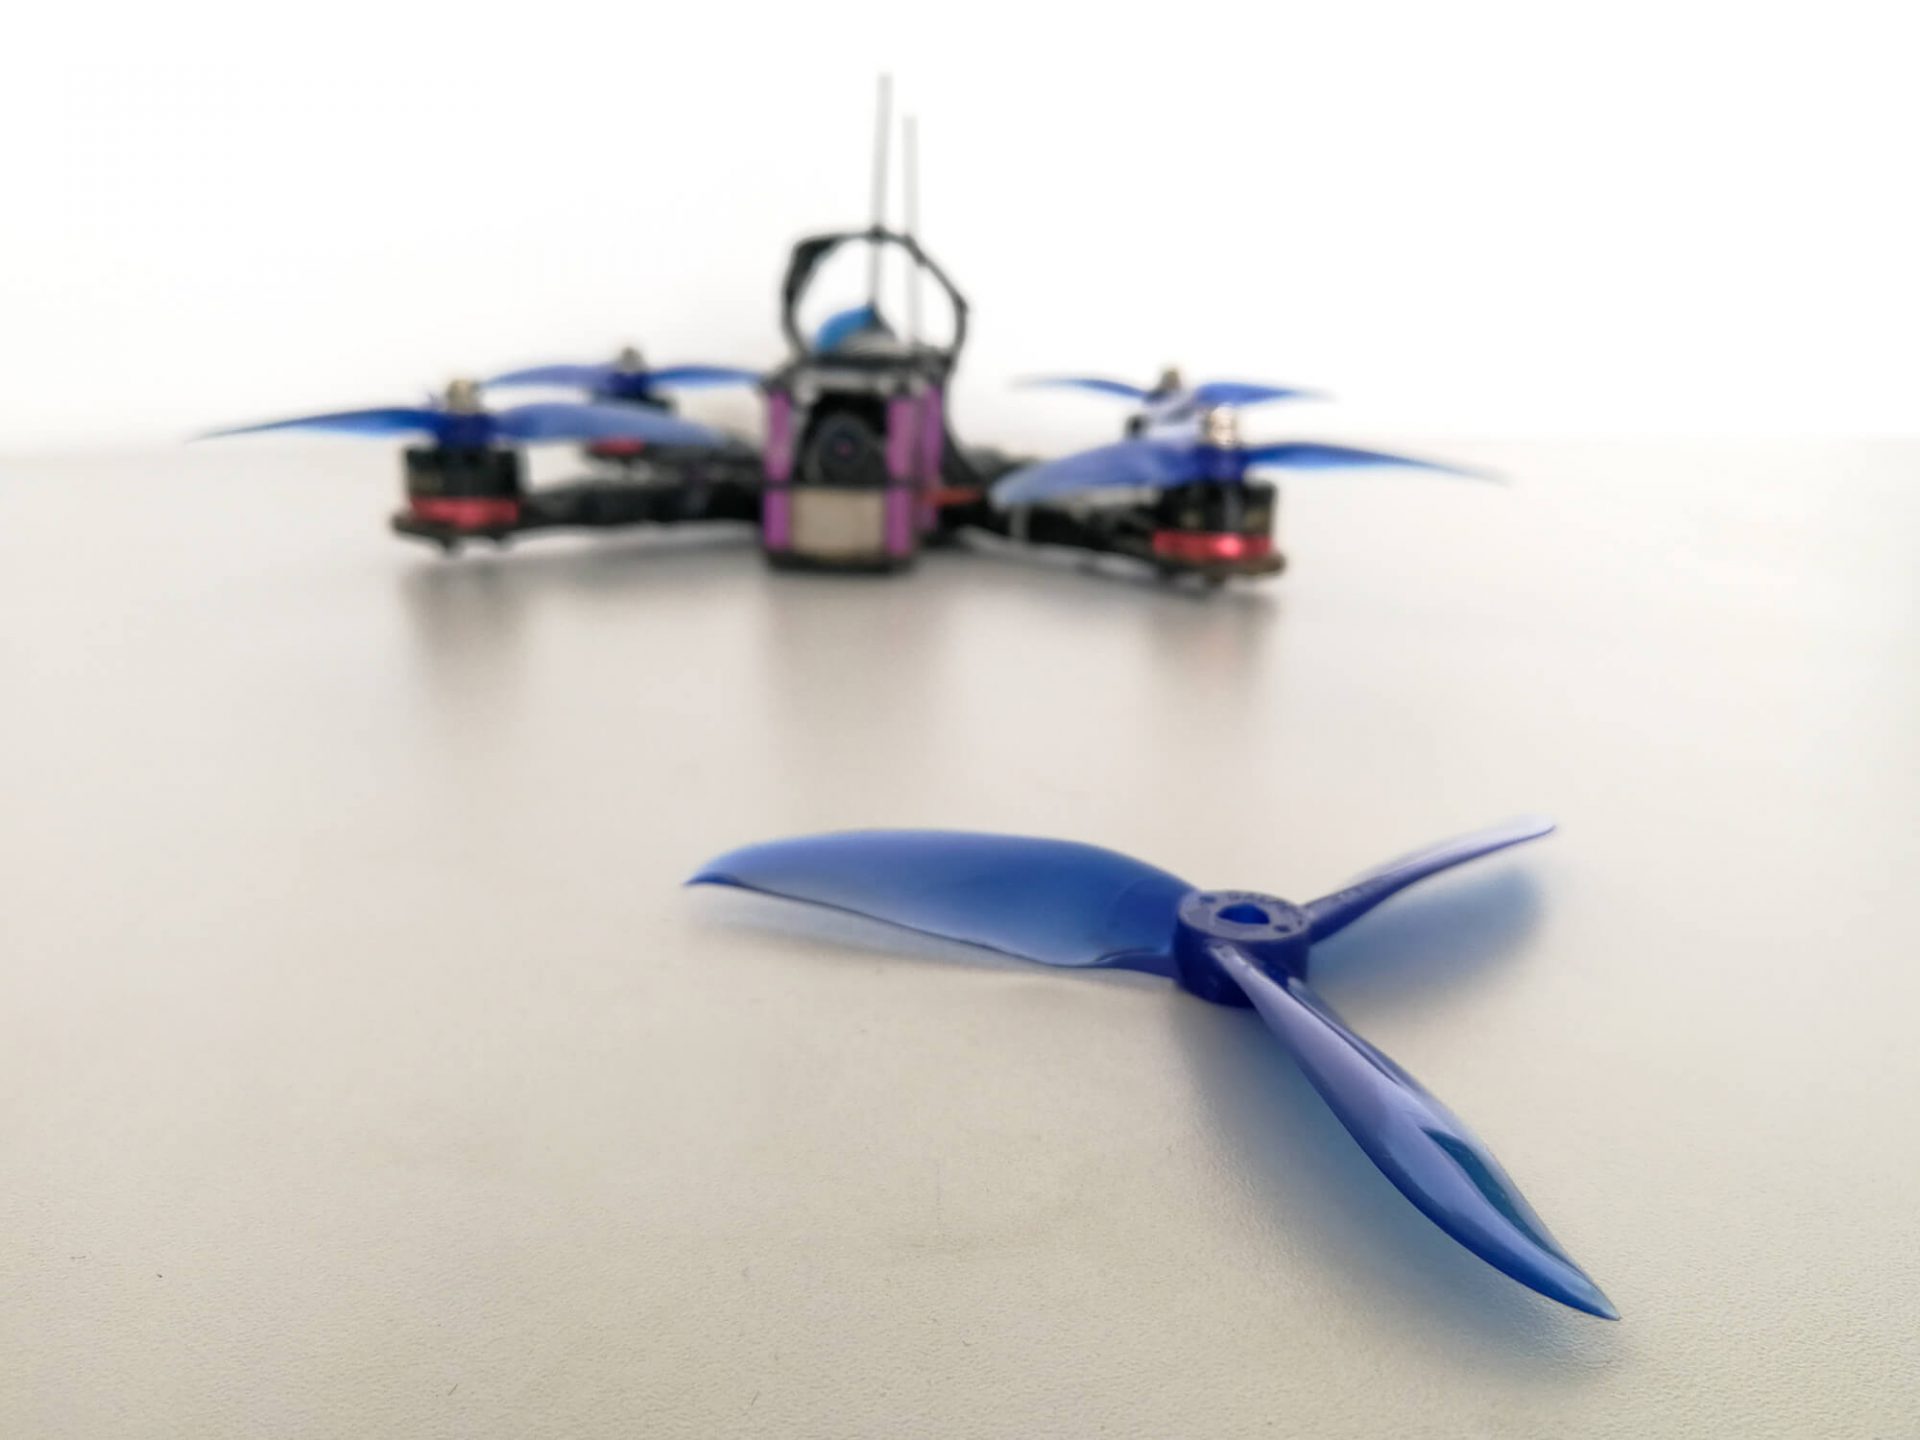
Propellers connected to brushless motors produce the thrust required for the drone to fly. They come in a variety of colors and are one of the most prominent visual aspects of a quadcopter.
Propellers are built of a variety of materials, including carbon fiber, plastic, and wood, and have two or three blades. The ideal material for propellers is carbon fiber since it makes them lighter and more durable.
It should be noted that propellers with a smaller diameter make it simpler to accelerate or decelerate, which is crucial for a beginner drone owner. Long, steady flights benefit from longer blades.
- Propeller for the DALProp Cyclone T5043C – $11.99
- Gemfan 2020 4-Blade Propeller at BETAFPV is $2.50.

ESC
ESCs, which stand for “Electronic Speed Controller,” are the tiny parts that generate and control the current required to operate a drone’s motors and regulate their speed. Additionally, a power supply stage, a current-sensing circuit, a microprocessor, and an interface for communication with the flight control system are all components of an ESC.
Moreover, ESCs need to be appropriate for the size of your drone. For each motor, you’ll need an ESC. You can either purchase four separate ESCs to place on each arm or an all-in-one board to fit inside the frame.

Flight Director
The quadcopter’s brain is the flight controller. It translates data from the remote controller and delivers it to the ESC to determine the drone’s movement in addition to receiving video from the camera and sending it to the goggles.
Additionally, the flight controller has an integrated gyroscope and accelerometer that work together to automatically balance your drone without your intervention. Your software selection could have an impact on your choice because flight controllers are typically created for specific software like Betaflight, KISS, or Raceflight.

DSLR or FPV
Of course, the camera is a key component for FPV drones. The drone’s eye gives the pilot a first-person view of what the drone is seeing.
FPV cameras typically employ either a CMOS or CCD image sensor, with the former being less expensive and heavier but less responsive to changes in light.
Even while an inexpensive CMOS camera will work, a CCD will produce better images. Additional camera specifications and their effect on visibility should be considered based on user preferences and particular demands.

Transmitter for video (VTX)
The video transmitter is a little board that receives the signal from your camera and transmits it to a pair of goggles or other viewfinders via an antenna. Here, power input, channel selections, signal quality, and switching options should be prioritized.

Goggles
The virtually “VR-like” component that generates the first-person view experience, is necessary. According to the integrated antennas and receiver, these vary in terms of resolution, the field of view, and signal intensity.
- Digital HD FPV Video System Bundle by FatShark Shark Byte – $329.00
- $55.99 for the EMAX Transporter 5.8GHz FPV Goggles

Transmission and Reception
Finally, the transmitter and receiver make the radio control system. The receiver within your drone and the transmitter you hold in your hands work together to communicate commands wirelessly over a predetermined radio frequency.
Moreover, the styles, textures, controls, and shapes of the various types of transmitters available on the market vary. Some models have rechargeable batteries, only work with specific radios, and have remote controls.
Make your decision based on feel, consider how the grip and control feel in your handand any other features. For instance, telemetry, which sends key information from the drone to the remote telling you when to land or advising you on when to load and control autonomous waypoints.

Ready-made items
Of course, you can always purchase a pre-made drone if you feel that this instruction is too geeky for you and don’t feel like making your drone:
- Combo DJI FPV
- Tinyhawk II by Emax
- QAV-S JohnnyFPV Special Edition for the Lumenier
- Cinewhoop iFlight Protek25 4S 2.5″ Green
Read more on Archup:
two-level bench installation by andre kong studio highlights climate challenges ahead


